In our never-ending thirst for innovative home-decor solutions, we bring you this amazing condo renovation. Interior designer Ijmal Haider, owner of Bauhaus Design and Renovations, took this typical 1980s-era condo, with its peach-hued colour palette and beige carpet, and turned it into a elegant, modern space. Here’s how he did it, in his own words:
Top tip
It’s important to have a source of inspiration, or have a piece that inspires you, when it comes to your overall design. It becomes a jump off point, and helps create a flow with everything else that is sourced along the way. The sofa pretty much created the colour story and theme for the entire renovation.
Splurge
One thing we splurged on was the sofa, it was the initial piece I bought and essentially dictated the theme of the entire project and theme. The floors and tiling were selected to compliment the sofa.
Skimp
To save on costs we decided to paint out the peachy/putty-coloured walls, rather than hiring someone to do it. It allowed for room in the budget to spend a little more on materials and furniture.
Best deal
Overall, most things sourced for this particular project were good deals, including new lighting, furniture and flooring.
Time factor
The renovation took between three and four weeks.
Living room before and after
.jpg)
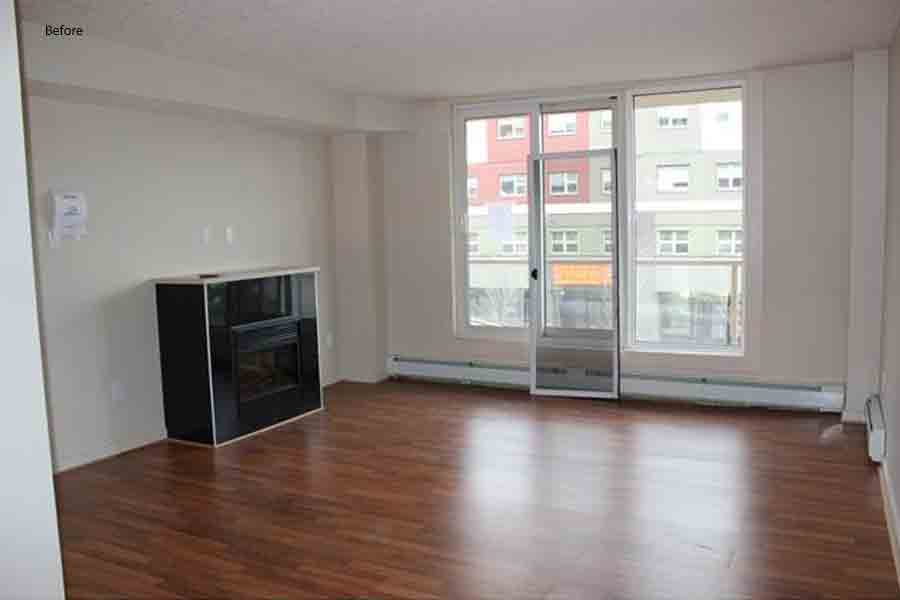
- The original layout of the space divided all the rooms with different types of flooring, making each space seem smaller. The first thing we decided to do was to use one type of flooring through all the main living area. We used a wide-plank laminate.
- The living room fireplace was transformed to double its functionality with a new built-in bookcase, and a marble face to create contrast and interest.
- The colour on the wall (Baritone by C2) was chosen to define the space without breaking it up. Choosing a dark colour wall colour makes your television less of a focal point.
Kitchen and dining room before and after
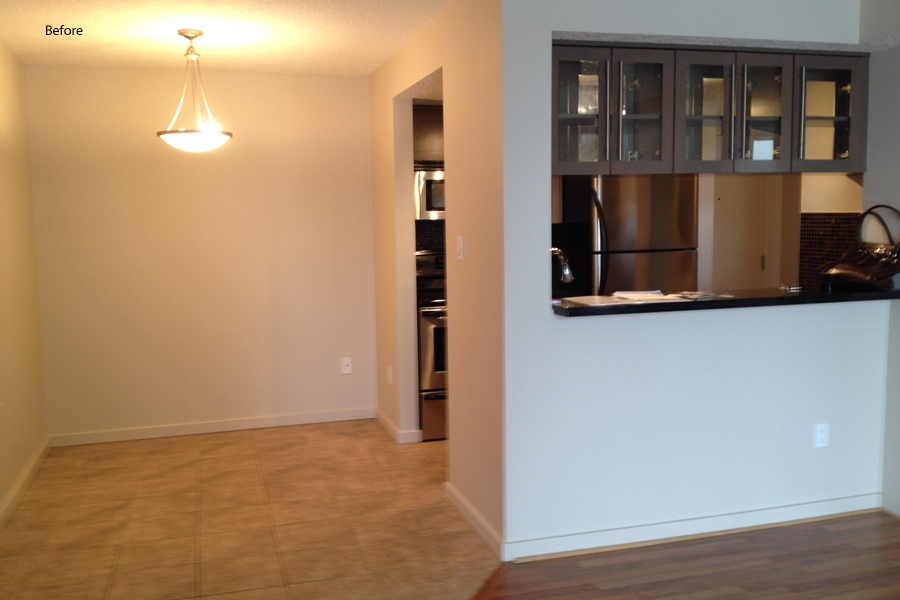
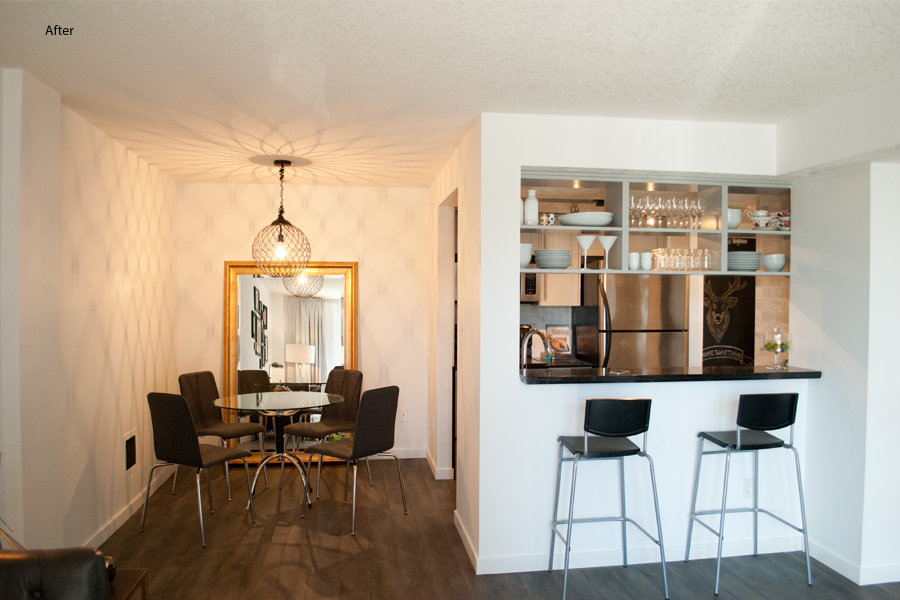
- The kitchen cabinetry used to be an ashy brown and it didn’t add any interest to the space. The backsplash was a small brown tile and the floor tile was peachy ceramic tile. We decided to brighten the space up by eliminating the original backsplash, and installing a three-by-six inch marble subway tile.
- The cabinets were refinished in a light grey (Seraph by C2). I removed the doors on the cabinets above the island to allow light to pass through while maintaining maximum storage.
- We eliminated the defined area for the dining room by continuing the wide-plank flooring from the living area.
Bathroom before and after
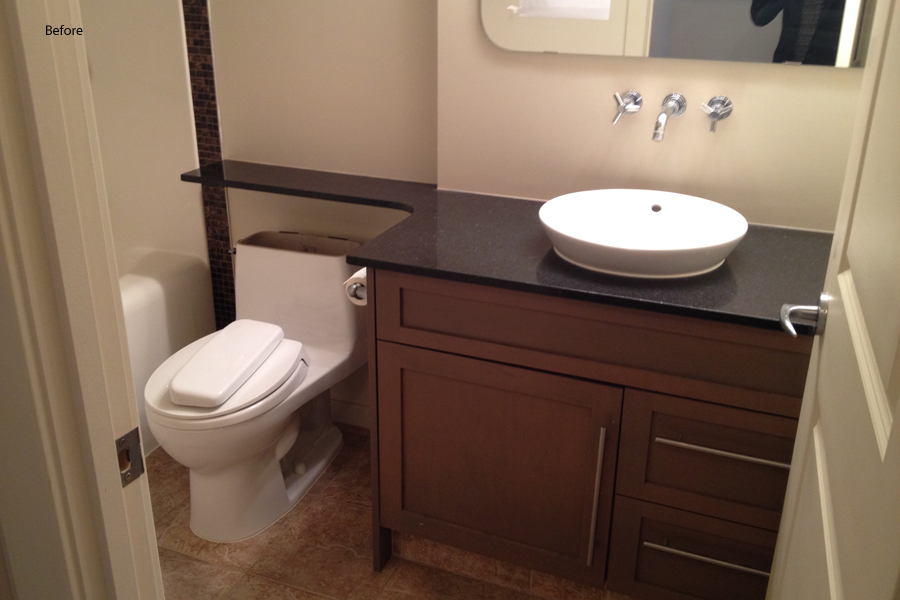
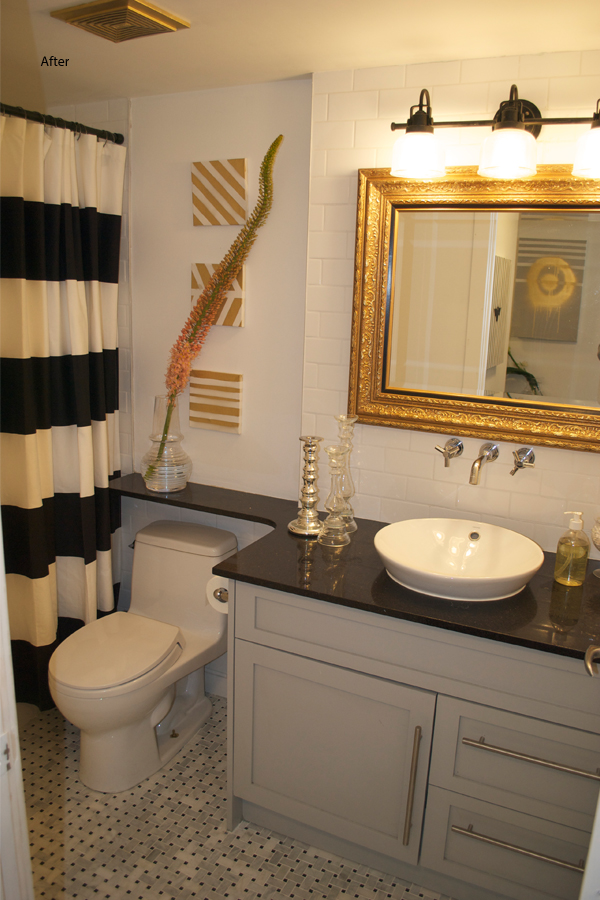
- The original jetted tub was switched to a nice deep soaker tub, and three-by-six inch white ceramic subway tiles were installed around the tub and behind the vanity.
- The existing cabinets were refinished to match the kitchen cabinets, and a framed gold mirror was added to create a custom feel.
- On the floor, we used a marble basket weave with black specks to tie in the original black granite countertops.
- Gold accents were added throughout every room to subtly to add dimension, depth, and warmth to the icy colour palette.
Entryway
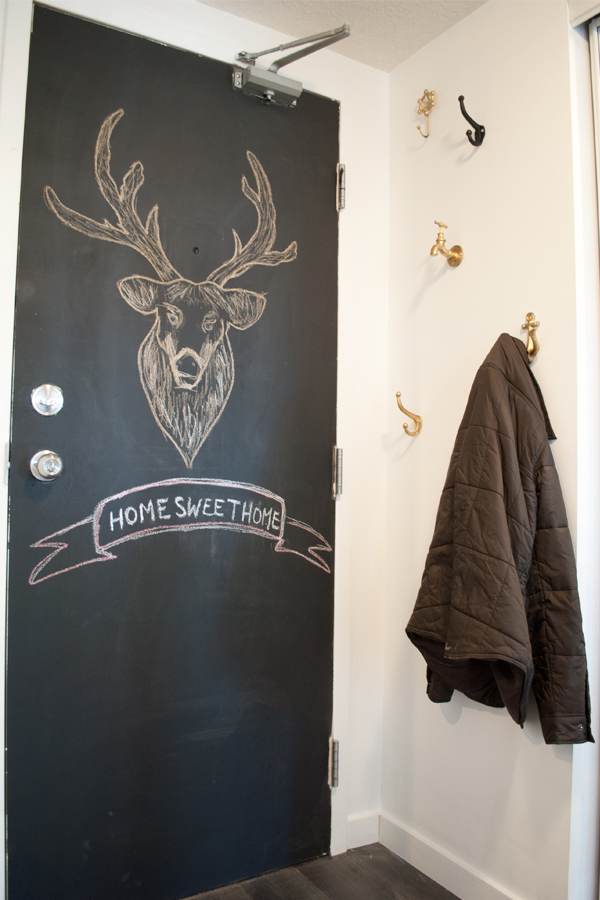
- The chalkboard door is an interesting element for smaller spaces. It can be used for simple artwork, scheduling and creating lists.
- Next to the front door, hooks were added for visitors’ coats.
This story was part of Avenue‘s free weekly Style Newsletter. Sign up now and get home decor and fashion information and advice in your inbox every Wednesday.
