Step 1
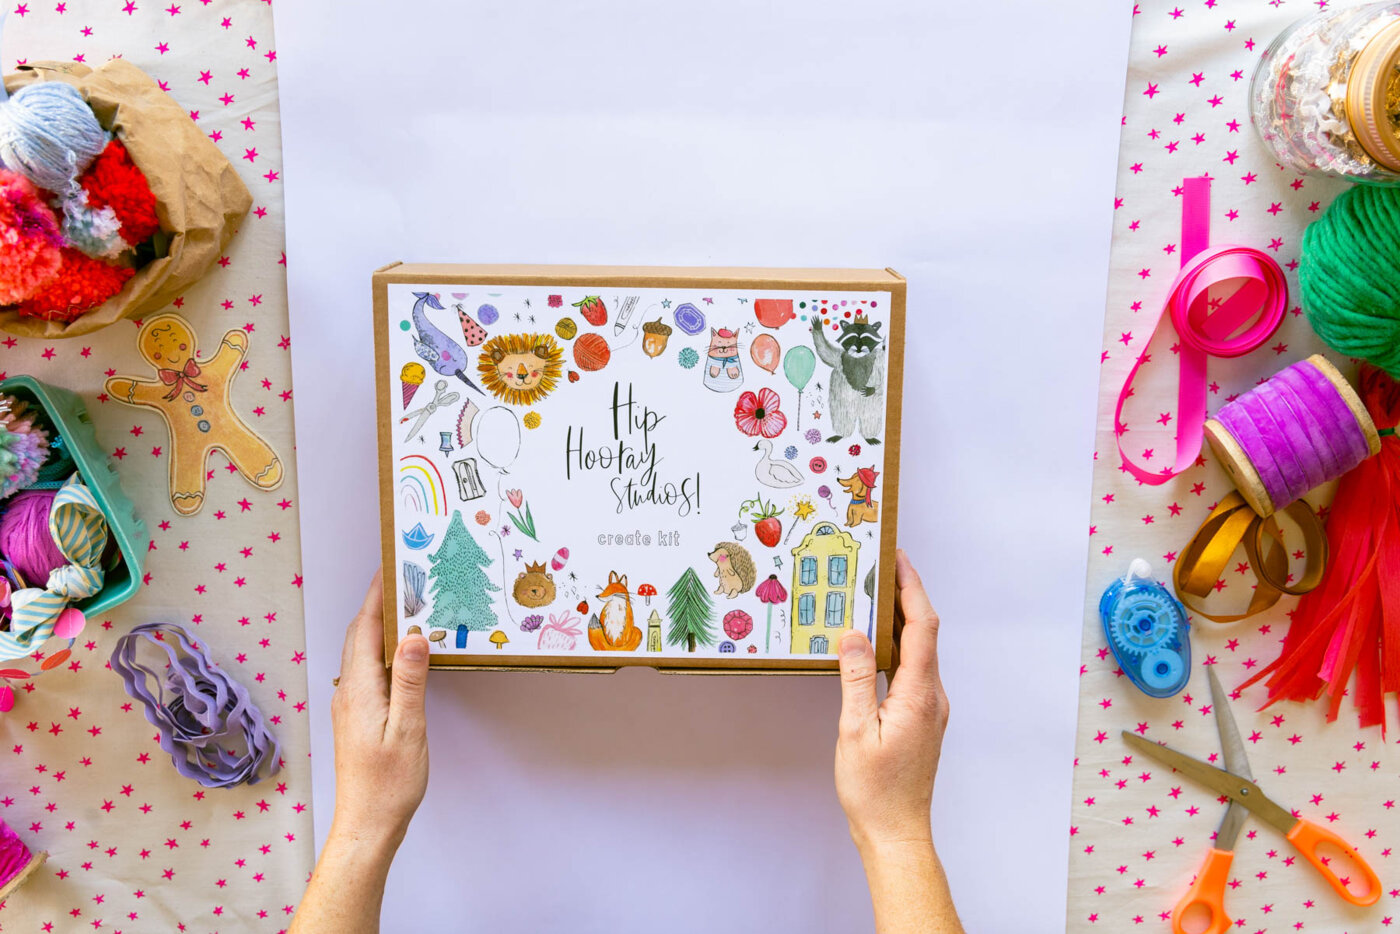
Choose your wrapping paper, and position your gift box on a sheet or a piece you’ve cut from a roll.
Step 2

Run a double-sided tape dispenser along the top edge of one side of the paper.
Step 3
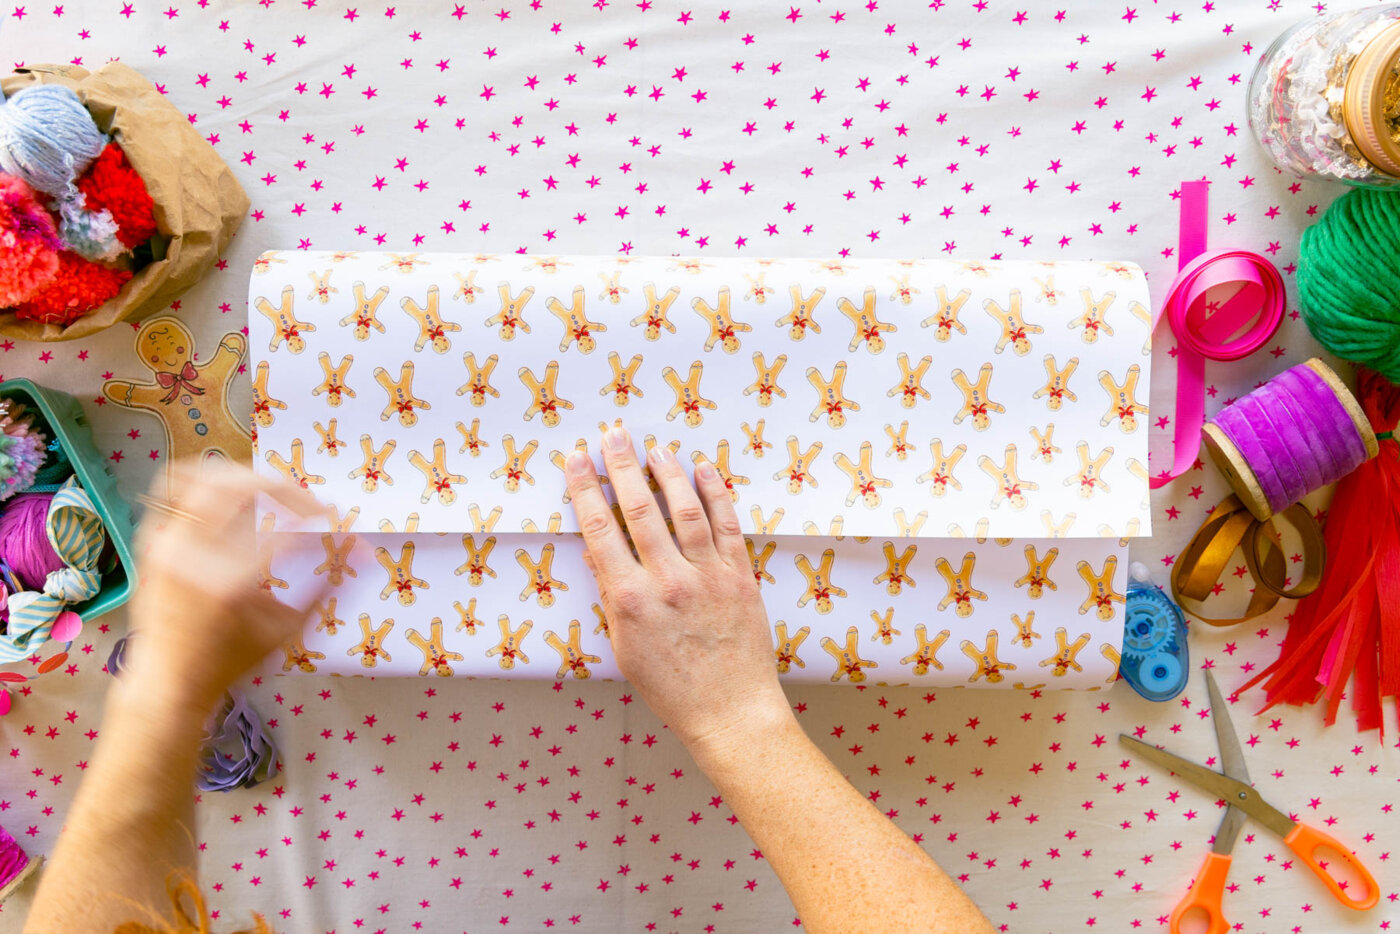
Fold the two sides of paper over the box, pulling them tight and ensuring the taped edge is on top. Press it down over the opposite edge to secure.
Step 4

On one end, fold the top flap onto the side of the box, followed by the side pieces. Add double-sided tape along the edge of the bottom flap, then fold up and press to secure.
Step 5
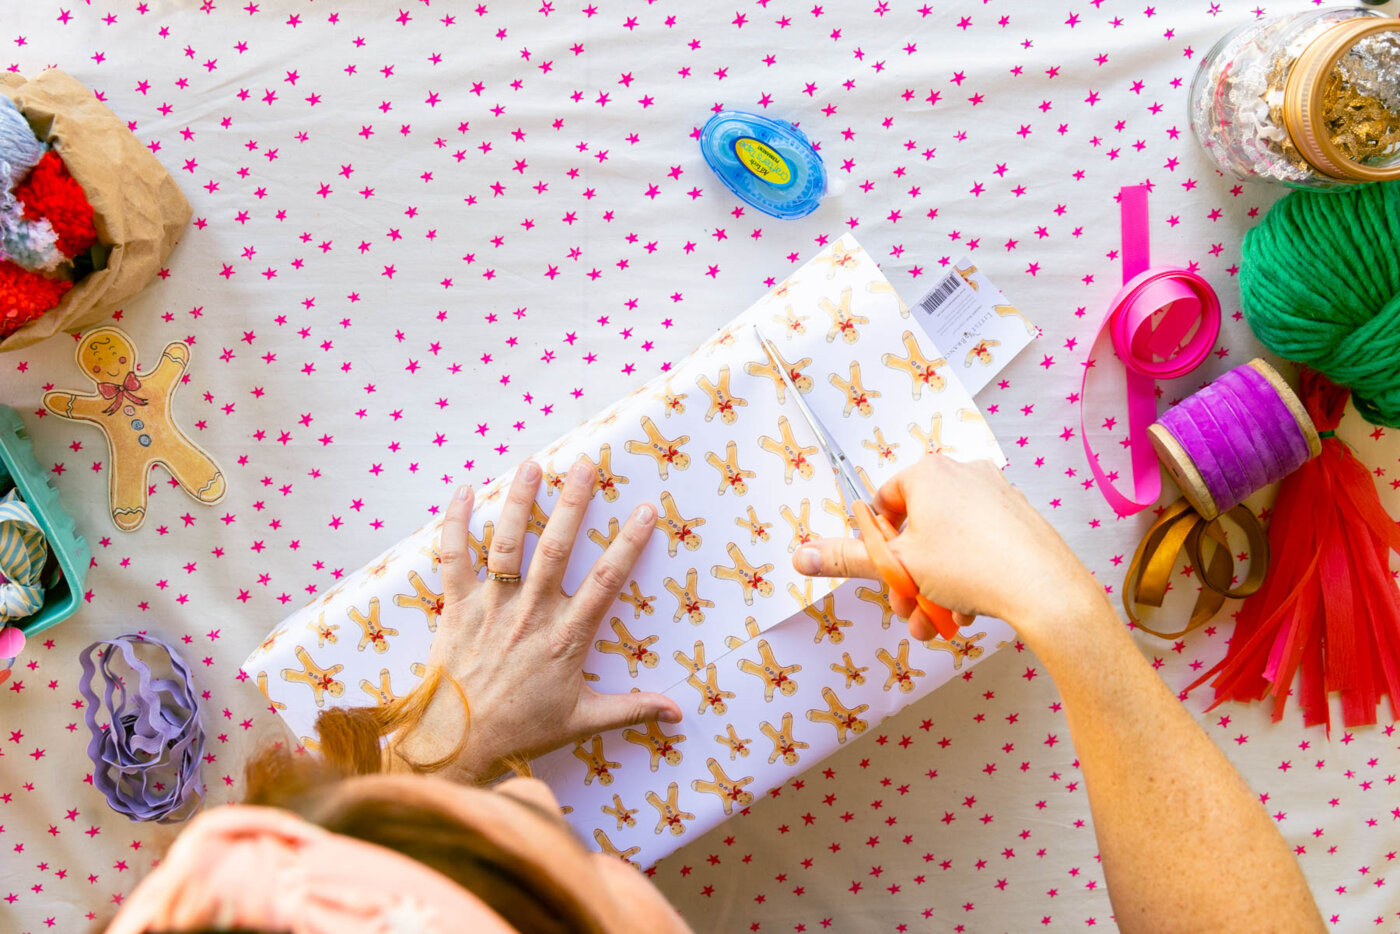
On the opposite side, use scissors to remove any excess paper, creating a band that can be used to wrap around another gift.
Step 6
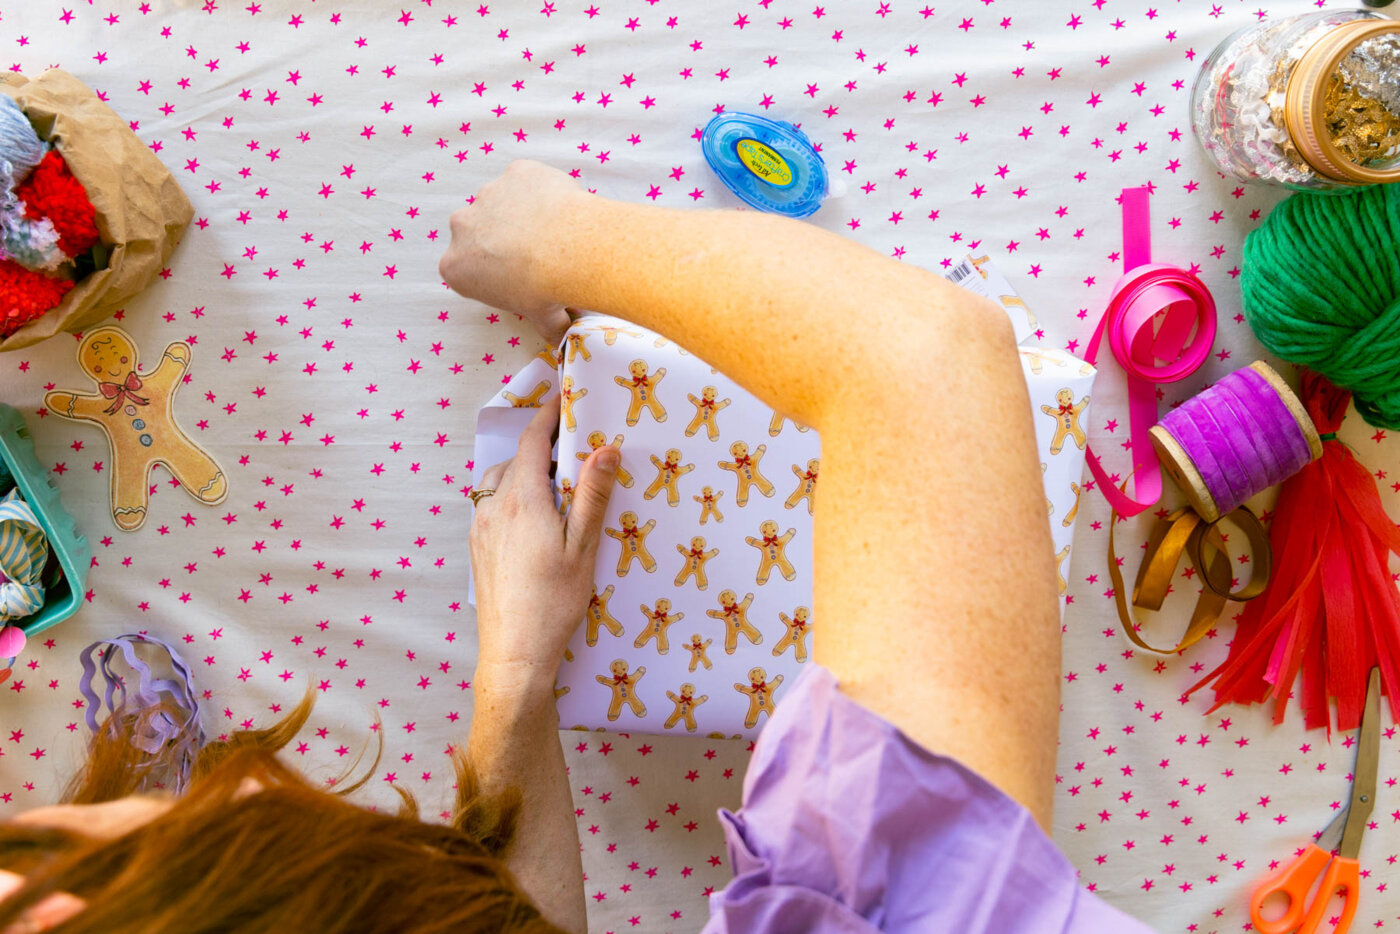
Repeat Step 4 on this side.
Step 7
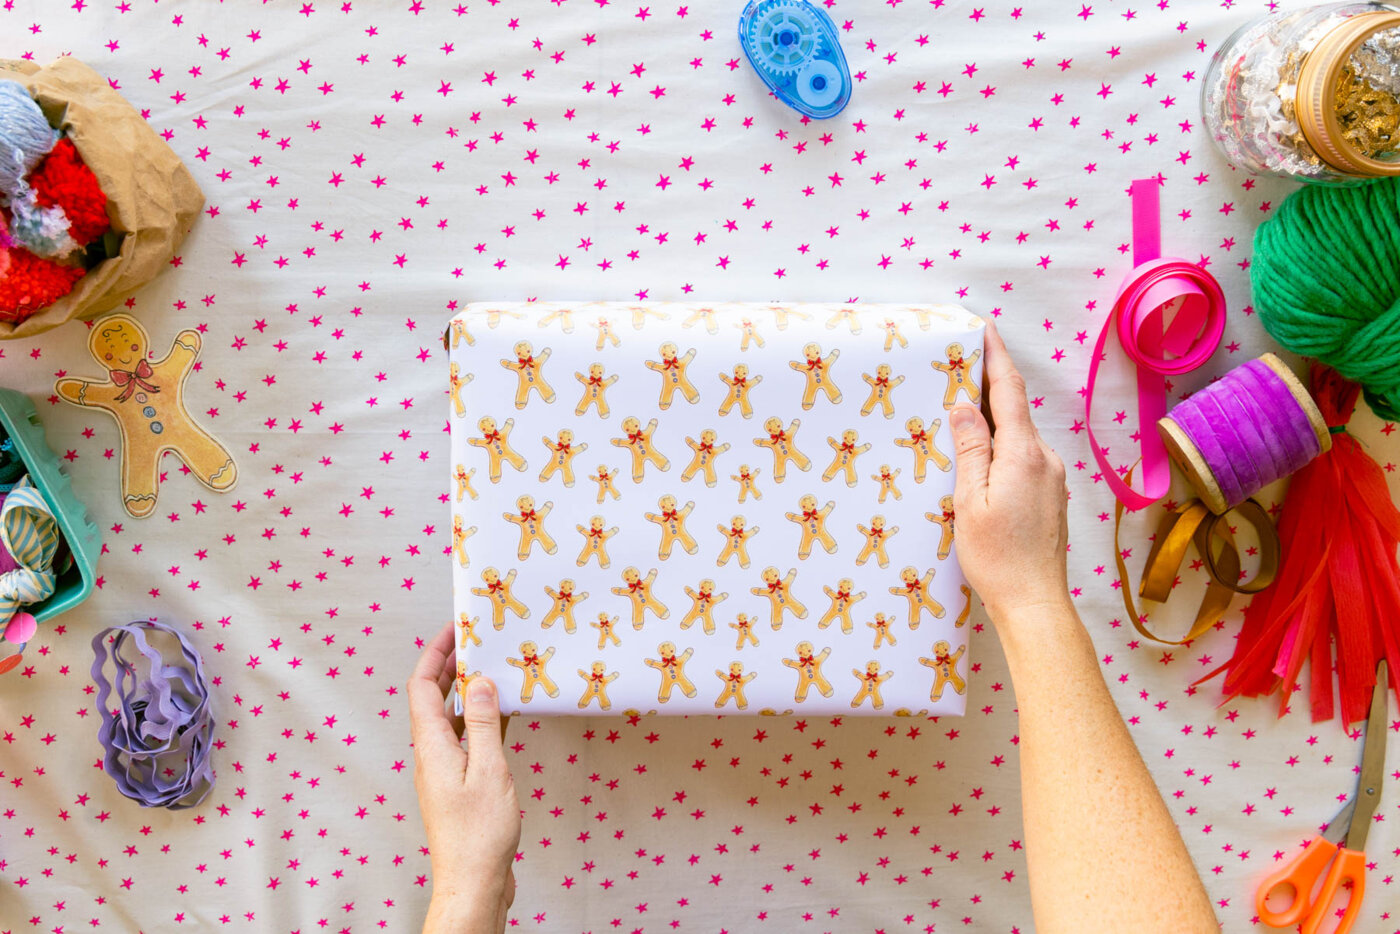
Your gift is wrapped; admire your handiwork. Now, for the fun part: embellishments! Start with a ribbon that will wrap around the entire box.
Step 8
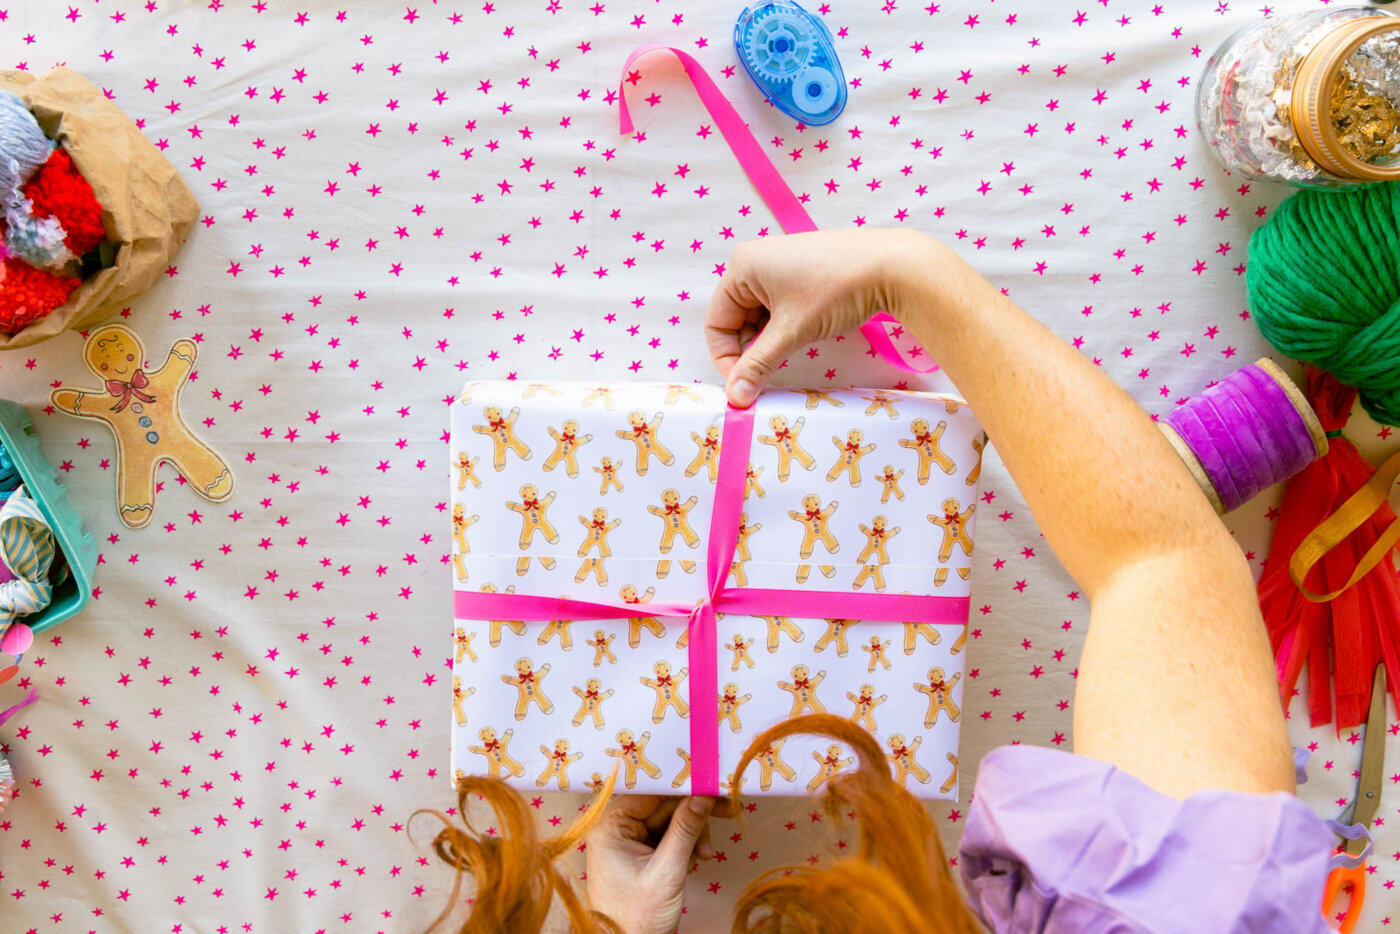
Drape the ribbon over the top, then wrap it around the sides, flipping the box over. Twist the two ends before bringing them back over the opposite sides. Tie in a knot at the top.
Step 9
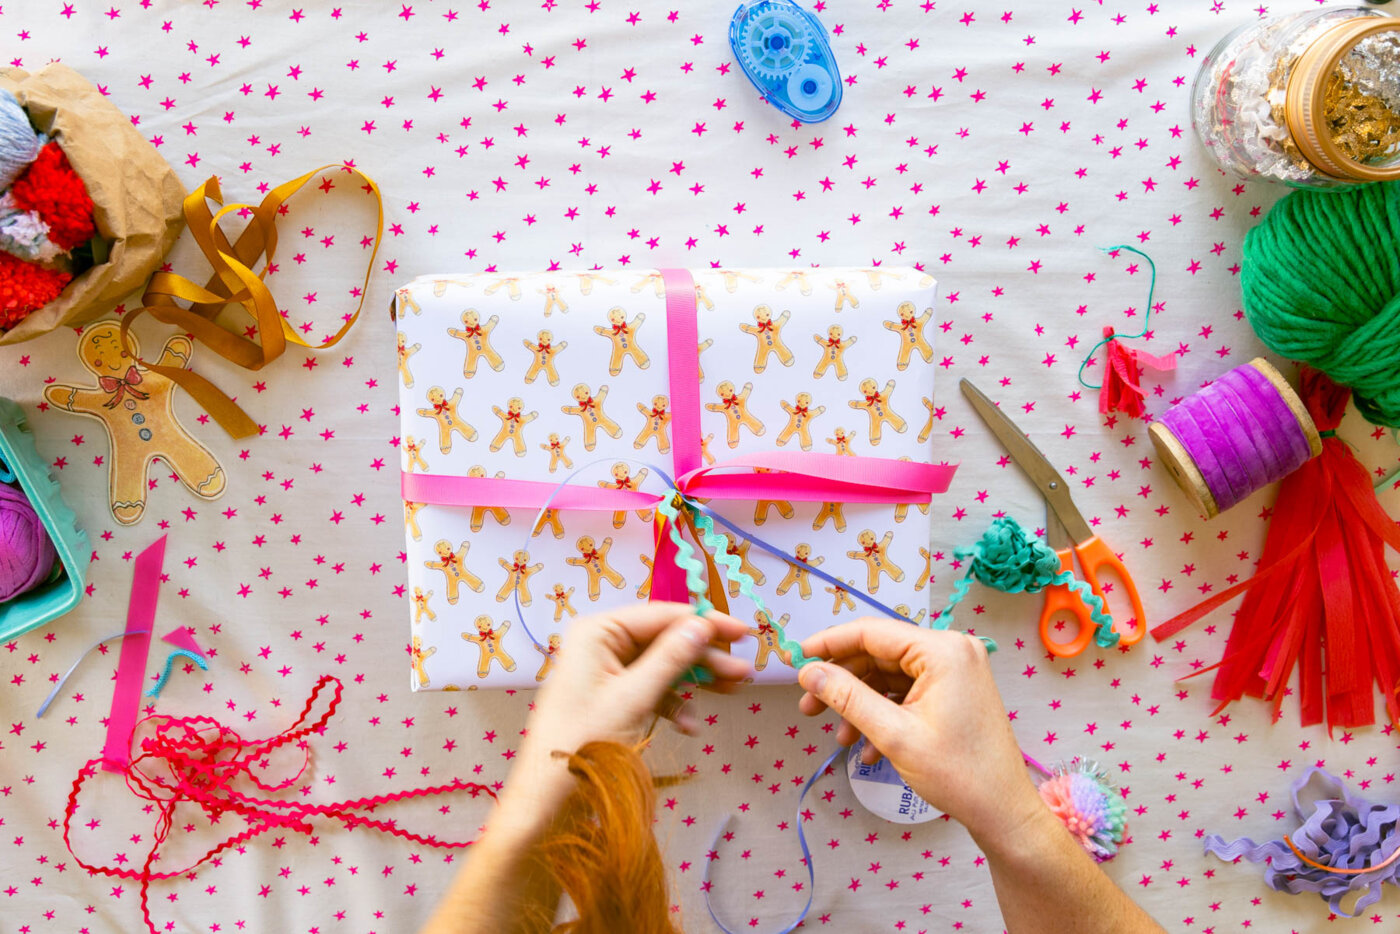
Add more ribbons (or yarn or rick rack) in an array of colours and textures by tying pieces of varying lengths around the knot of your main ribbon.
Step 10

Top it off with a homemade pompom (instructions available at the end).
Step 11
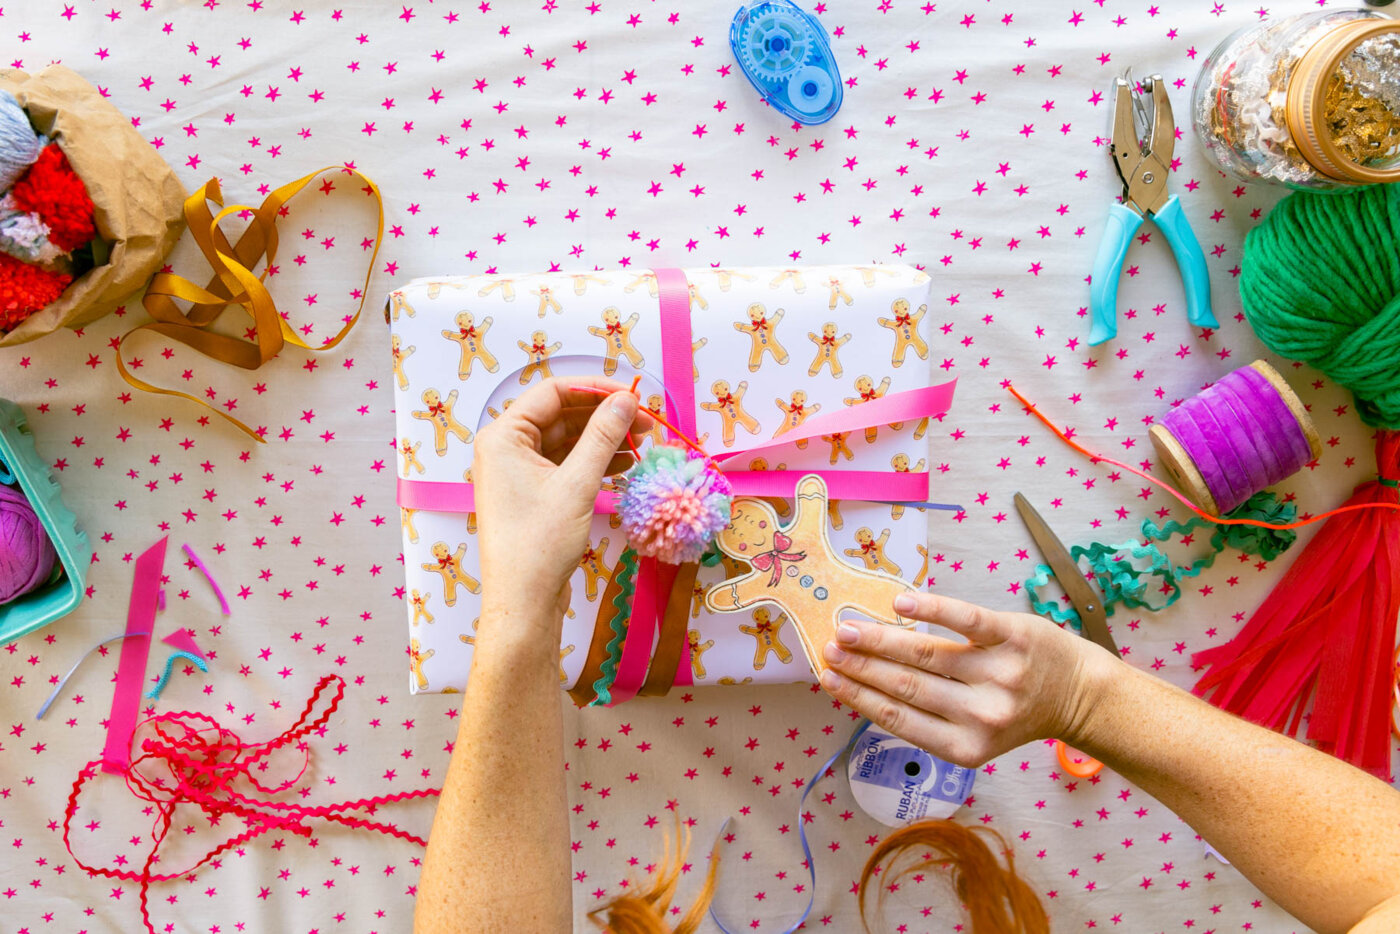
Finally, add a tag. Simply punch a tiny hole in your tag (if it doesn’t have one), thread a ribbon through it and tie it to the pompom or ribbons.
Ta-Dah!
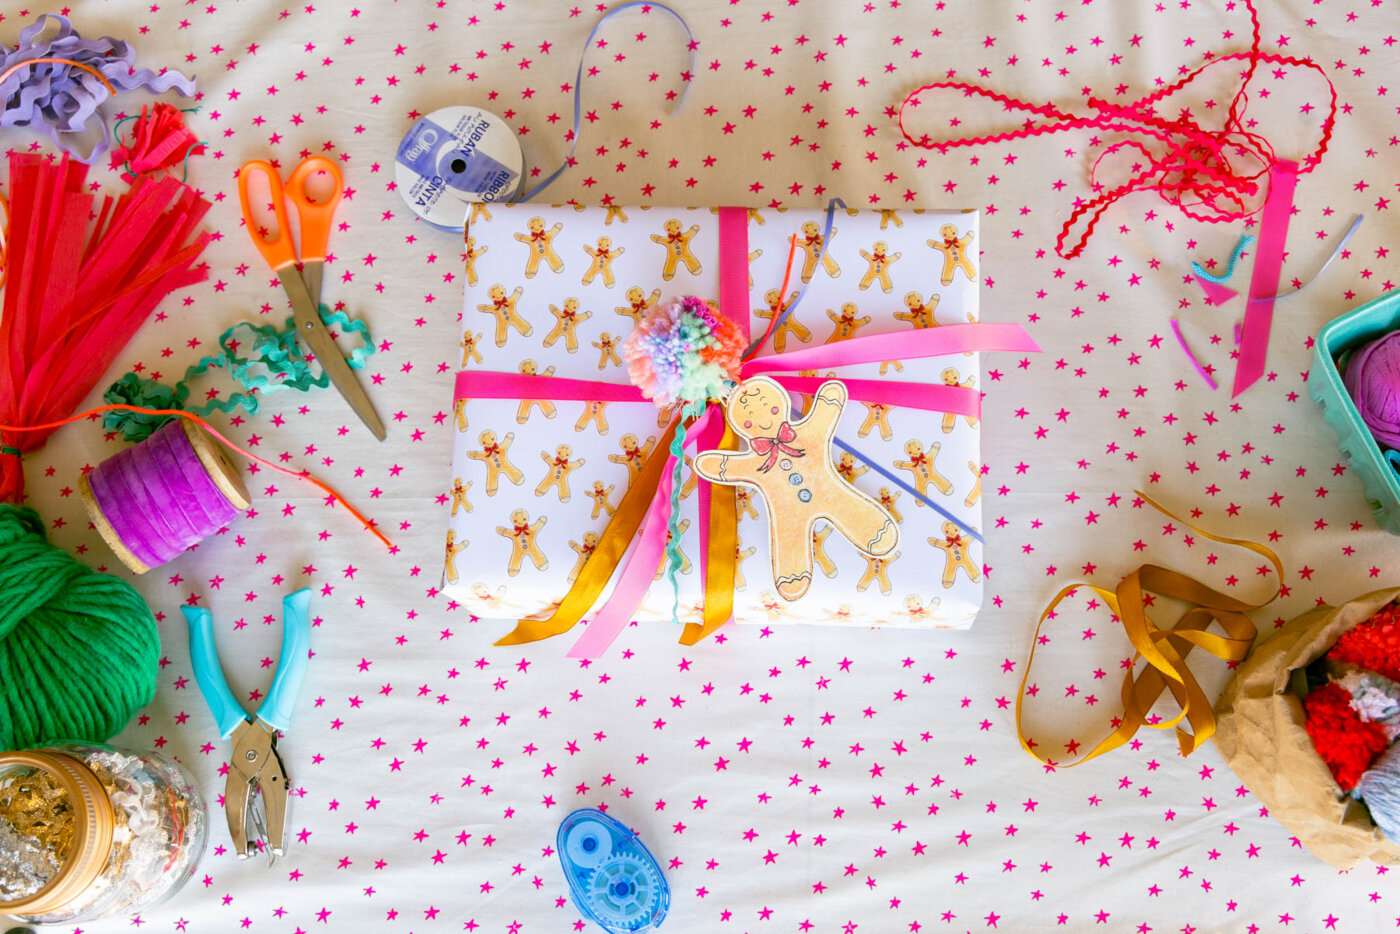
Find this wrapping paper and more of Elise’s paper goods at hiphooraystudios.com.
Bonus: How to Make Your Own Pompom
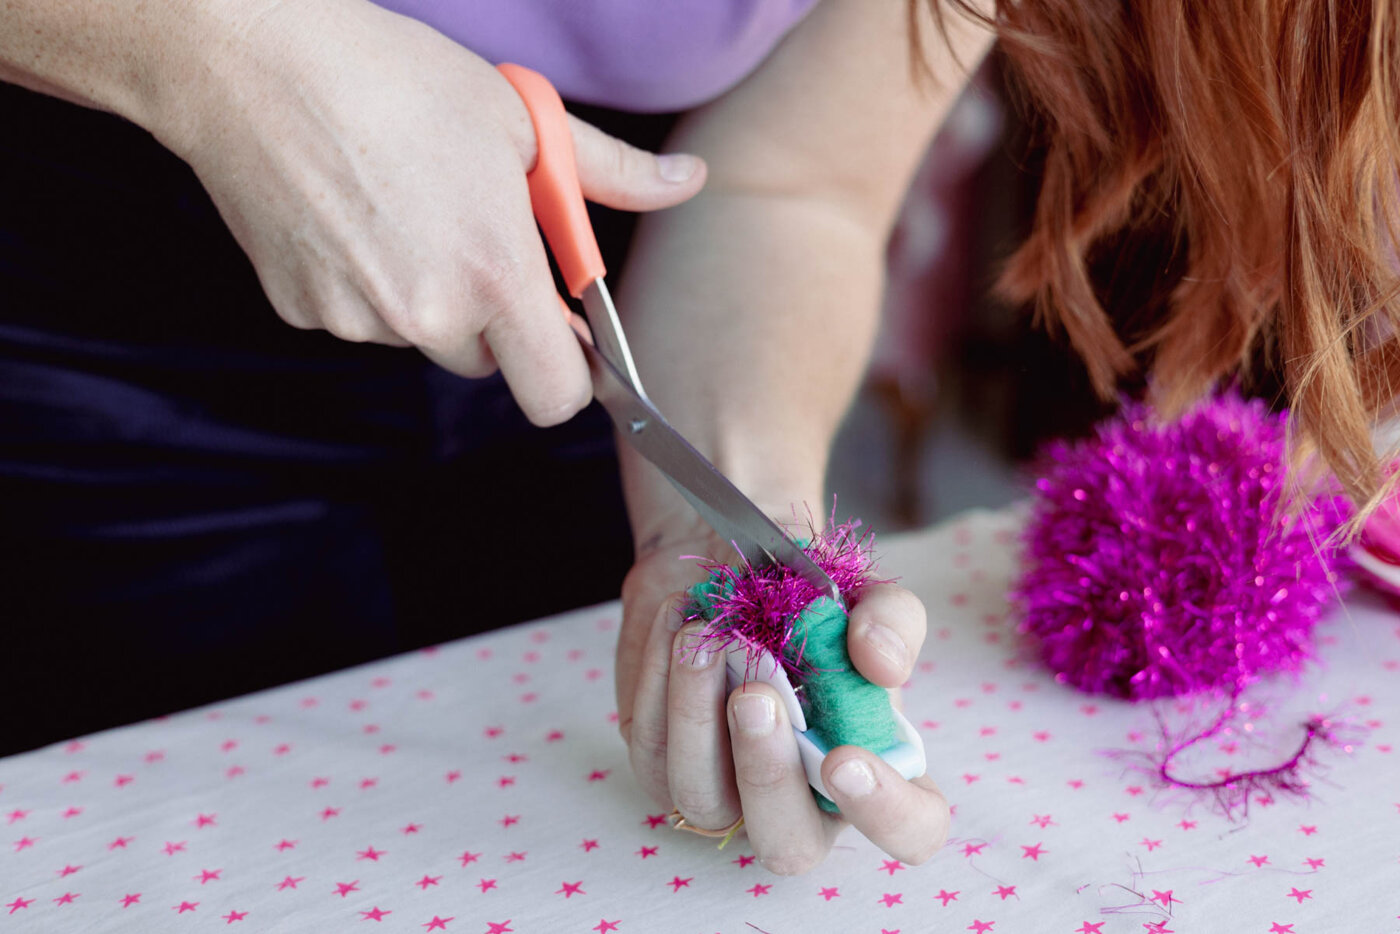
The easiest way to make your own colourful, fluffy topper is to use a pompom maker (such as this one from Michaels). Choose a couple different colours of yarn, and even some rick rack and ribbons for some extra texture and pizazz.
Open the pompom maker, and start wrapping your first yarn selection around one of the arms of the contraption. Wrap the yarn around the arm multiple times over, covering one-quarter, one-third or one-half of the arm before switching to another variety of yarn, ribbon or rick rack.
Once the whole arm is wrapped, close the pompom maker, open the other arm, and repeat, matching the thickness of the wrapping with the first arm. When both arms are wrapped, close the pompom maker, insert a pair of scissors into the groove in the middle of it and cut through the yarn, moving all the way around the contraption. Add a piece of yarn to the same groove, tie it around the contraption, and secure it with a knot. Open the pompom maker and, voila! Simply fluff up your pompom and attach it to your present.
